When to Use
- Microsoft Environment: If your organization uses Microsoft 365 or Azure services, Azure AD integration provides seamless authentication.
- Enterprise SSO: Leverage Azure AD’s Single Sign-On capabilities for unified access management.
Setup Instructions (on Azure AD)
Creating an Azure AD Application
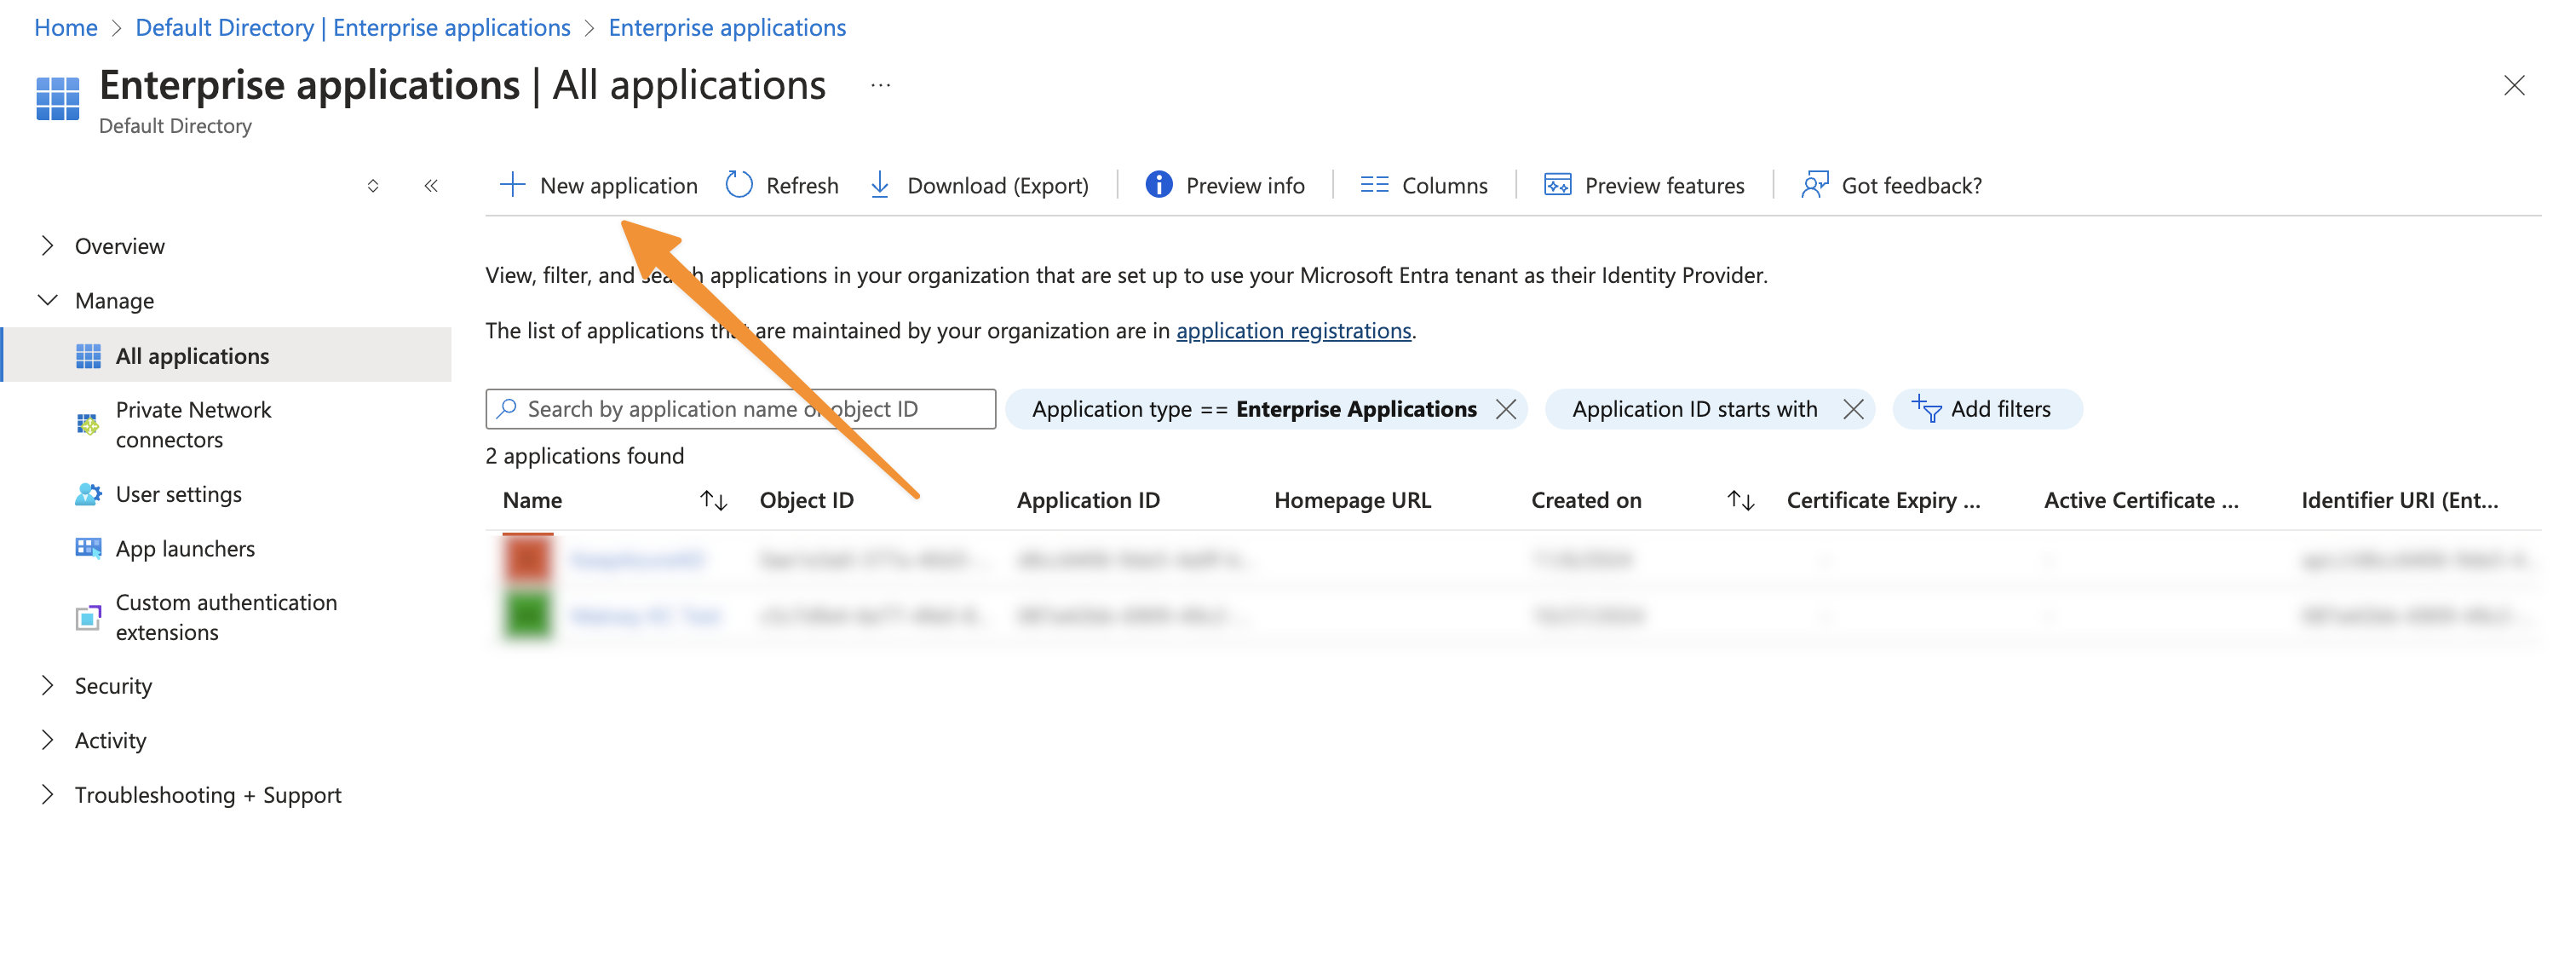
- Sign in to the Azure Portal
- Navigate to Microsoft Entra ID > App registrations > New registration
- Configure the application:
- Name: “Keep”
Note that we are using “Register an application to integrate with Microsoft Entra ID (App you’re developing)” since you’re self-hosting Keep and need direct control over the authentication flow and permissions for your specific instance - unlike the cloud/managed version where Keep’s team has already configured a centralized application registration.

- Configure the application (continue)
- Supported account types: “Single tenant”
We recommend using “Single tenant” for enhanced security as it restricts access to users within your organization only. While multi-tenant configuration is possible, it would allow users from any Azure AD directory to access your Keep instance, which could pose security risks unless you have specific cross-organization requirements.
- Redirect URI: “Web” + your redirect URI
We use “Web” platform instead of “Single Page Application (SPA)” because Keep’s backend handles the authentication flow using client credentials/secrets, which is more secure than the implicit flow used in SPAs. This prevents exposure of tokens in the browser and provides stronger security through server-side token validation and refresh token handling.
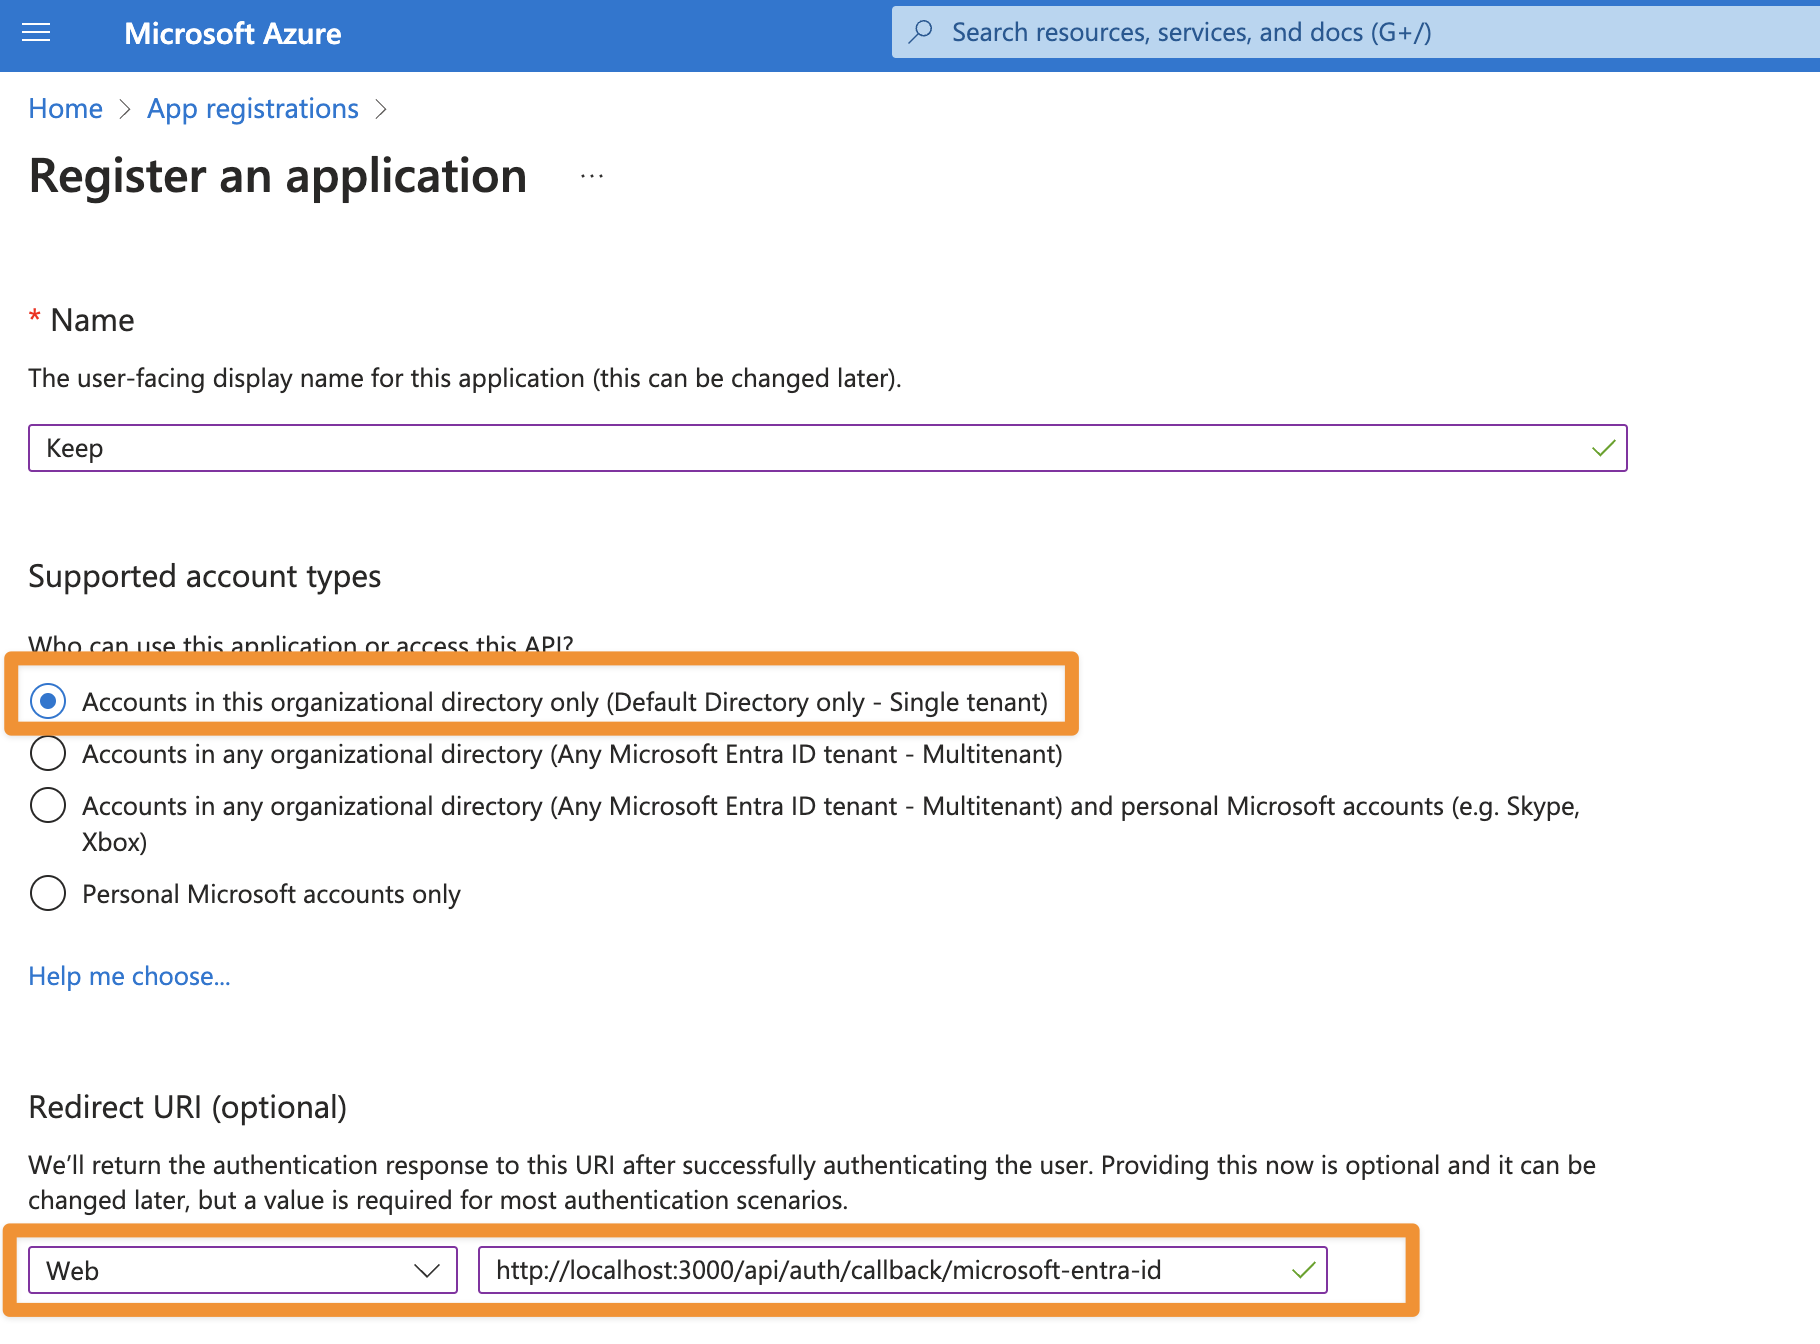
- Finally, click “register”
Configure Authentication
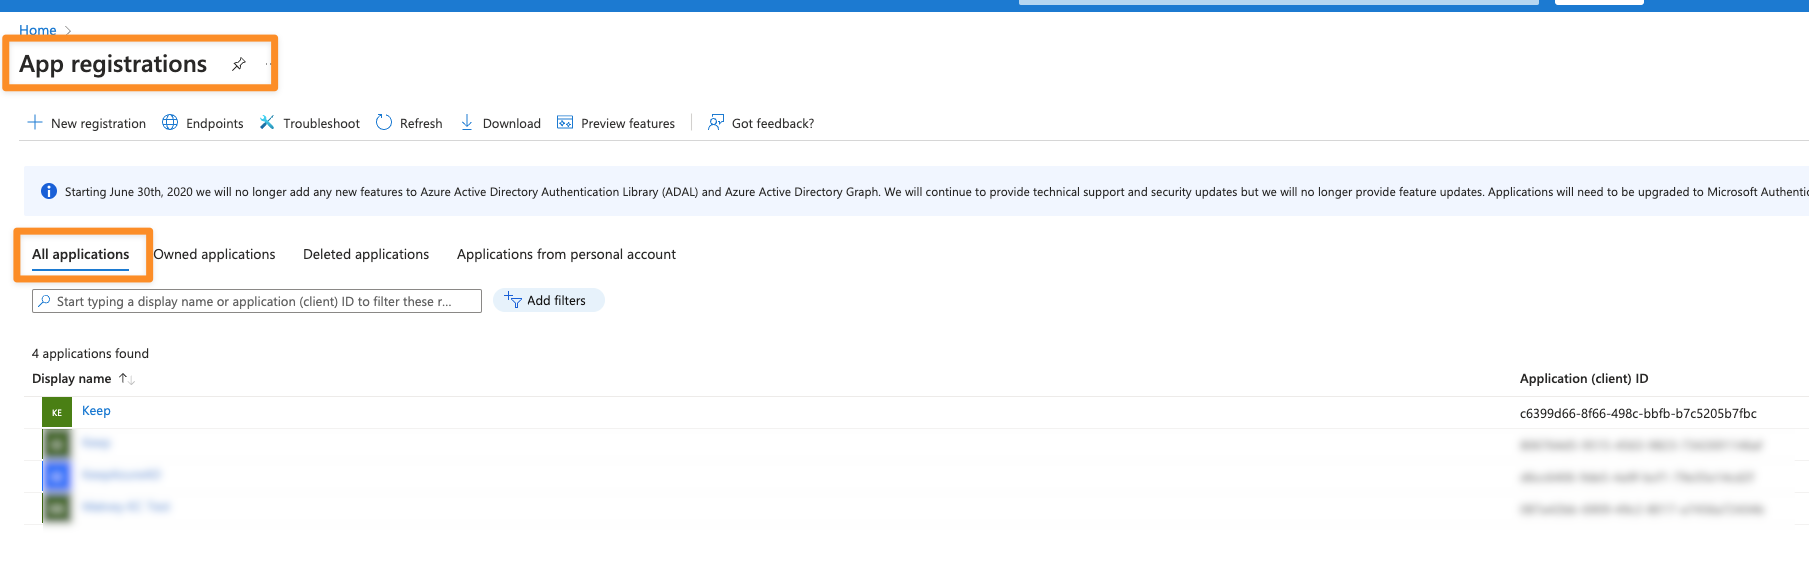
After we created the application, let’s configure the authentication.- Go to “App Registrations” -> “All applications”
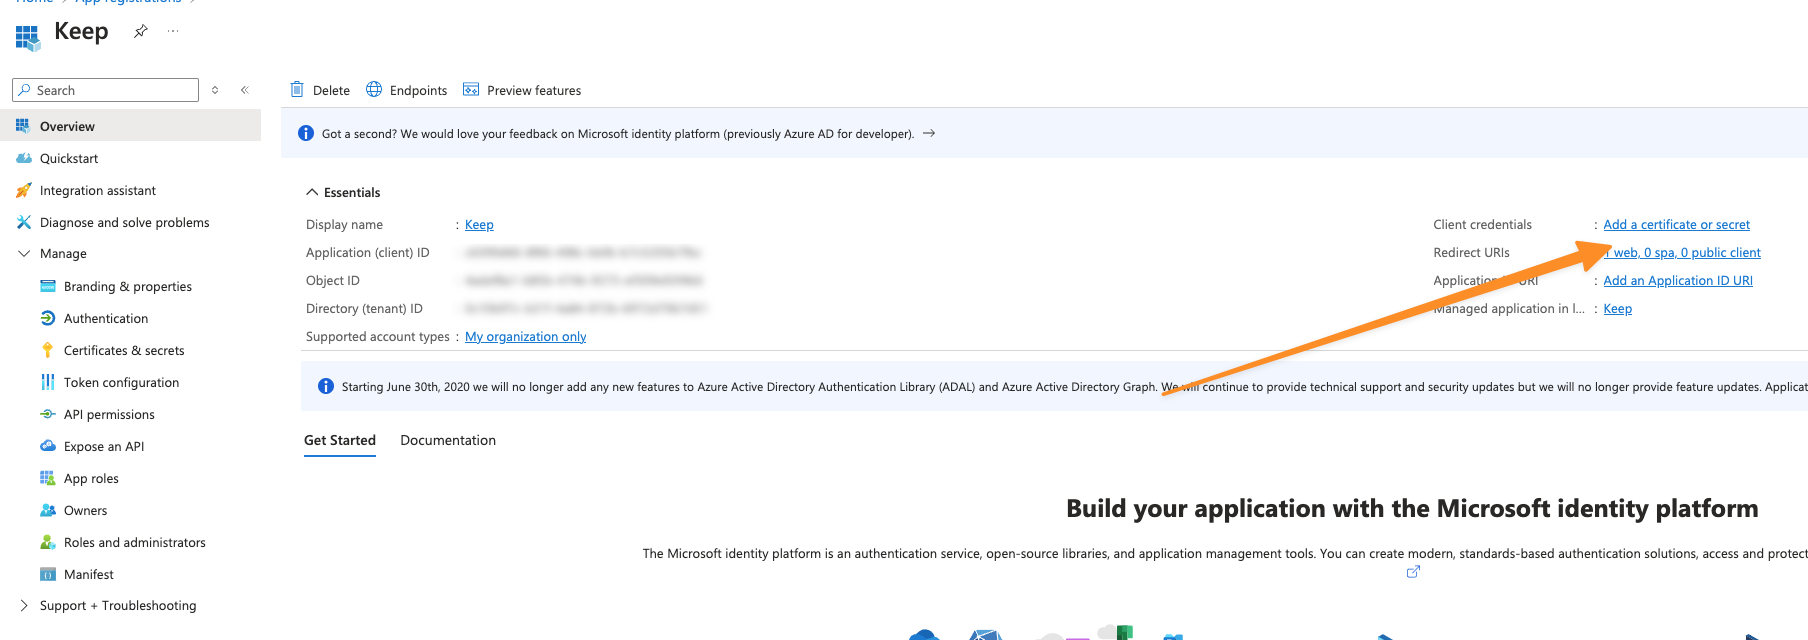
- Click on your application -> “Add a certificate or secret”
- Click on “New client secret” and give it a name
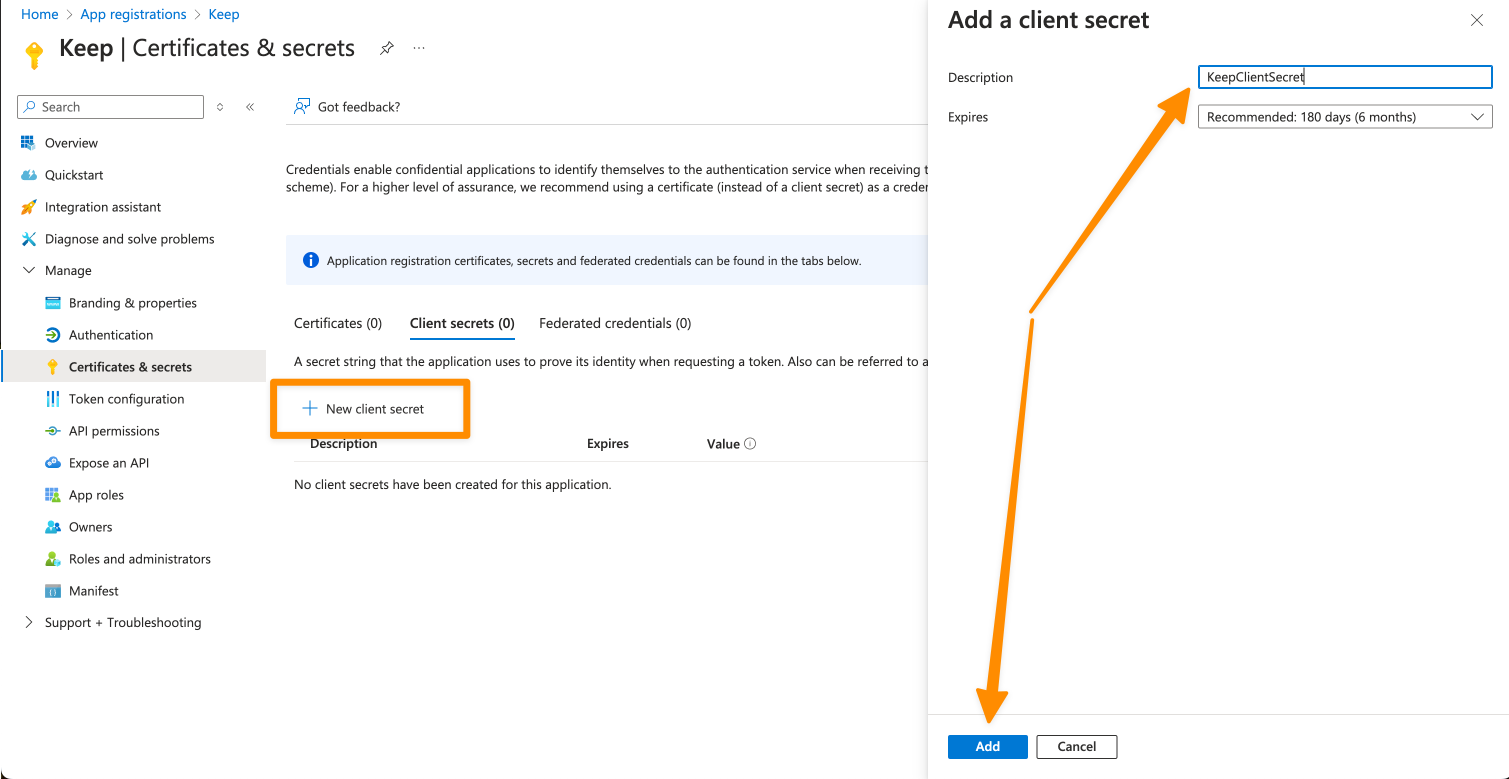
- Keep the “Value”, we will use it soon as
KEEP_AZUREAD_CLIENT_SECRET

Configure Groups
Keep maps Azure AD groups to roles with two default groups:- Admin Group (read + write)
- NOC Group (read only)
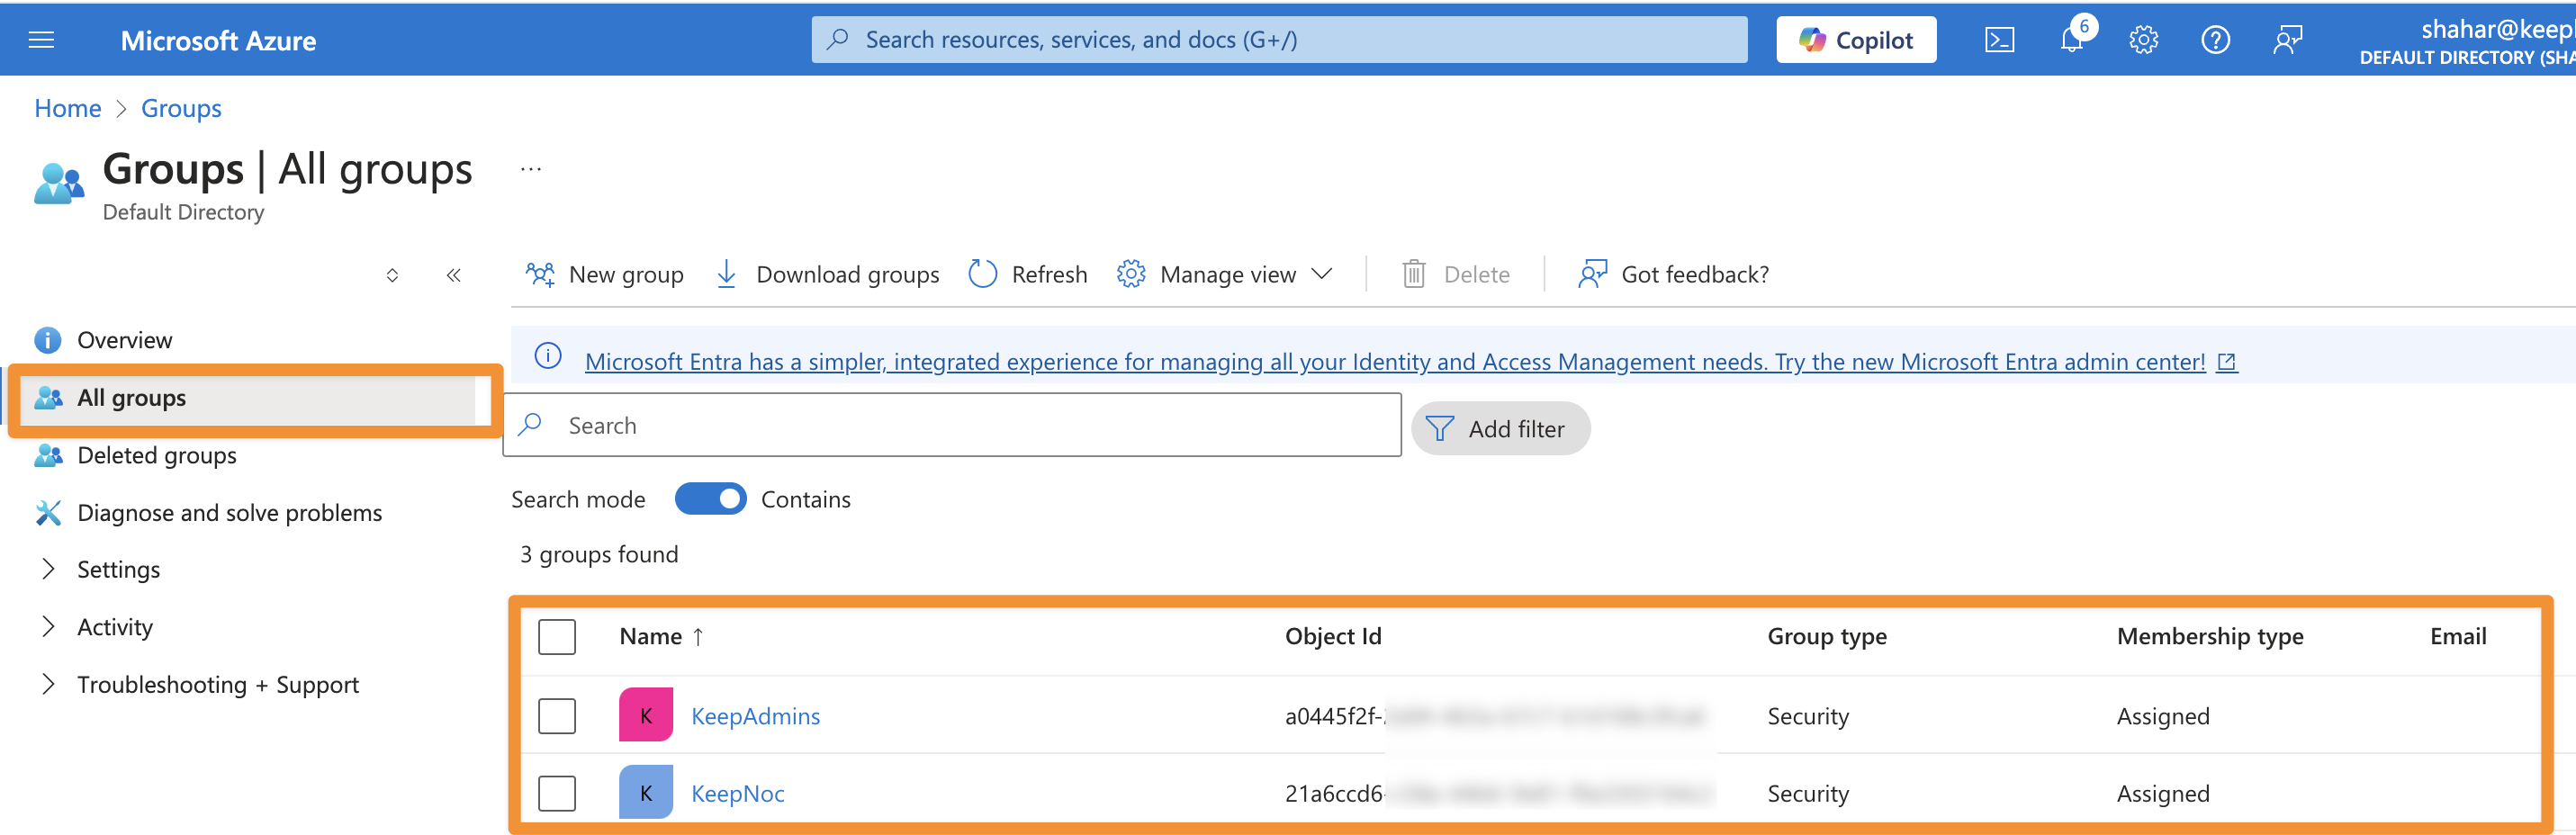
KEEP_AZUREAD_ADMIN_GROUP_ID and KEEP_AZUREAD_NOC_GROUP_ID.
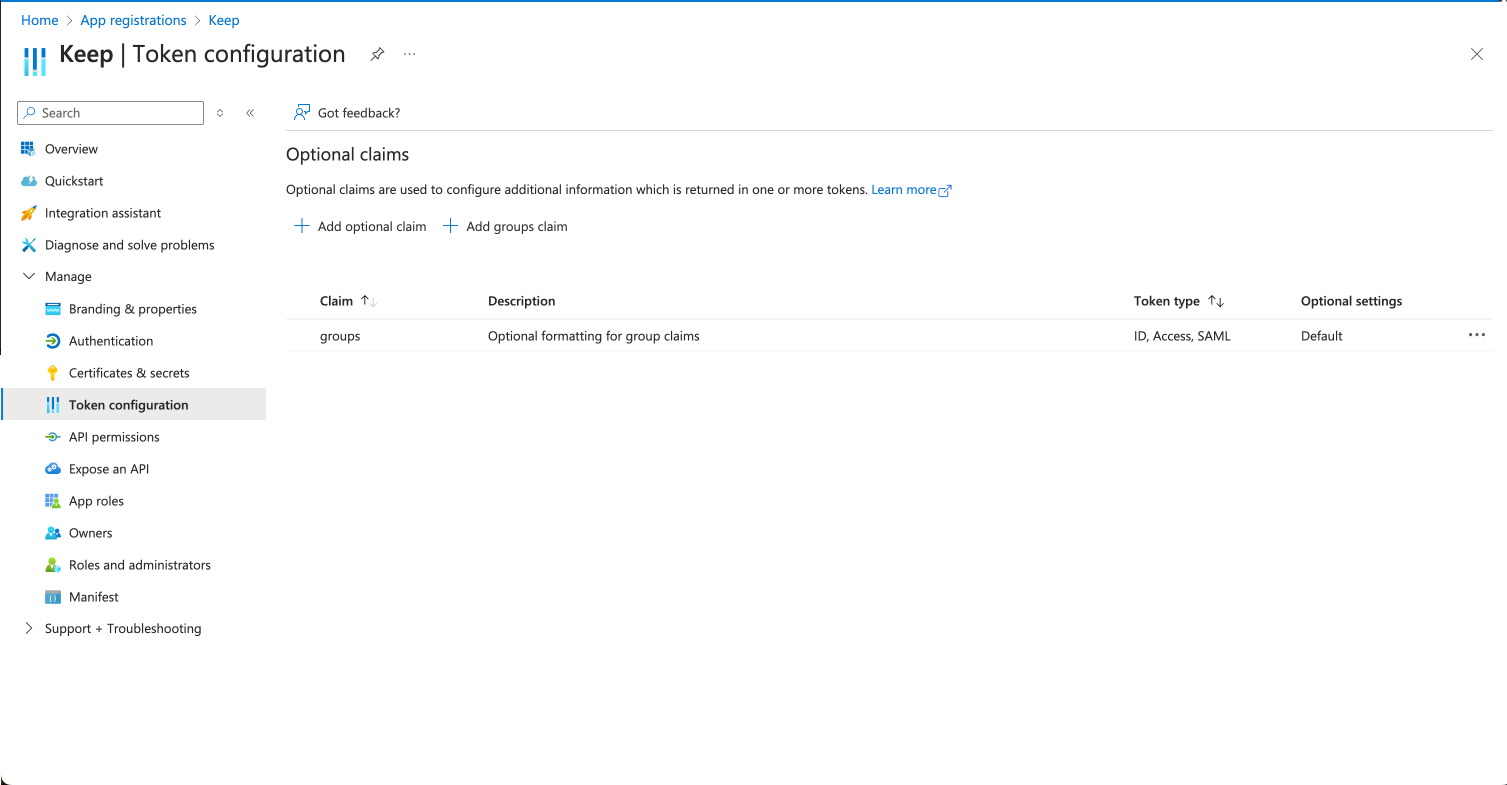
Configure Group Claims
- Navigate to Token configuration
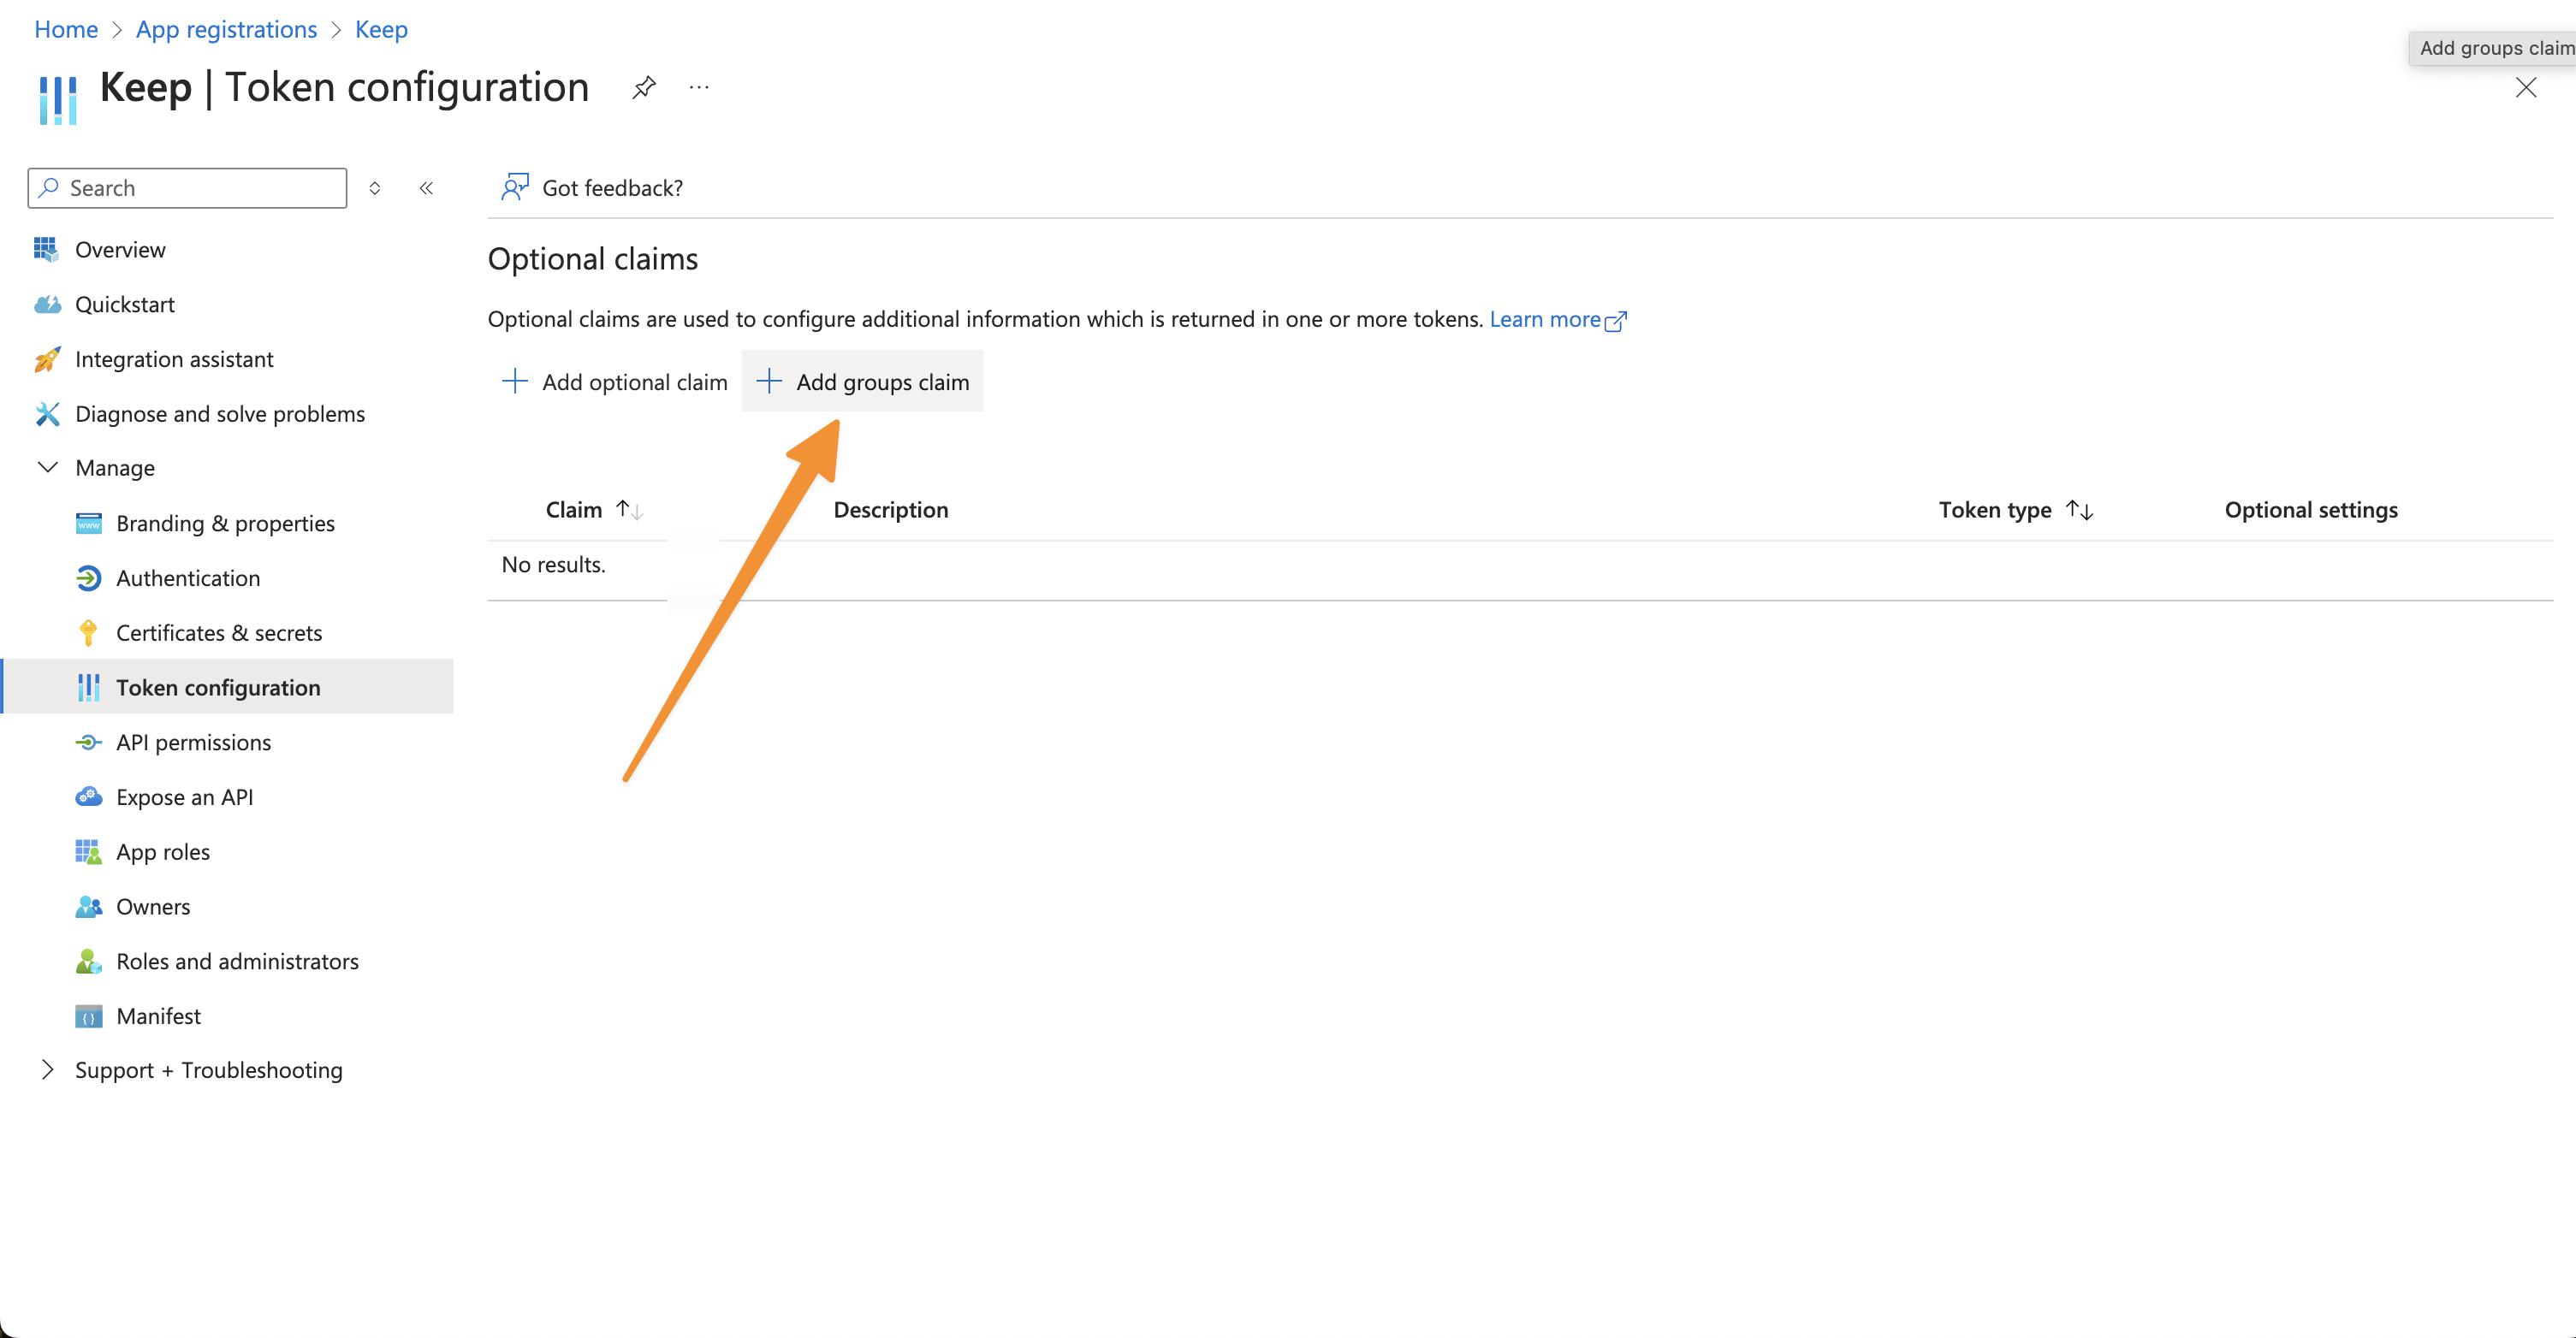
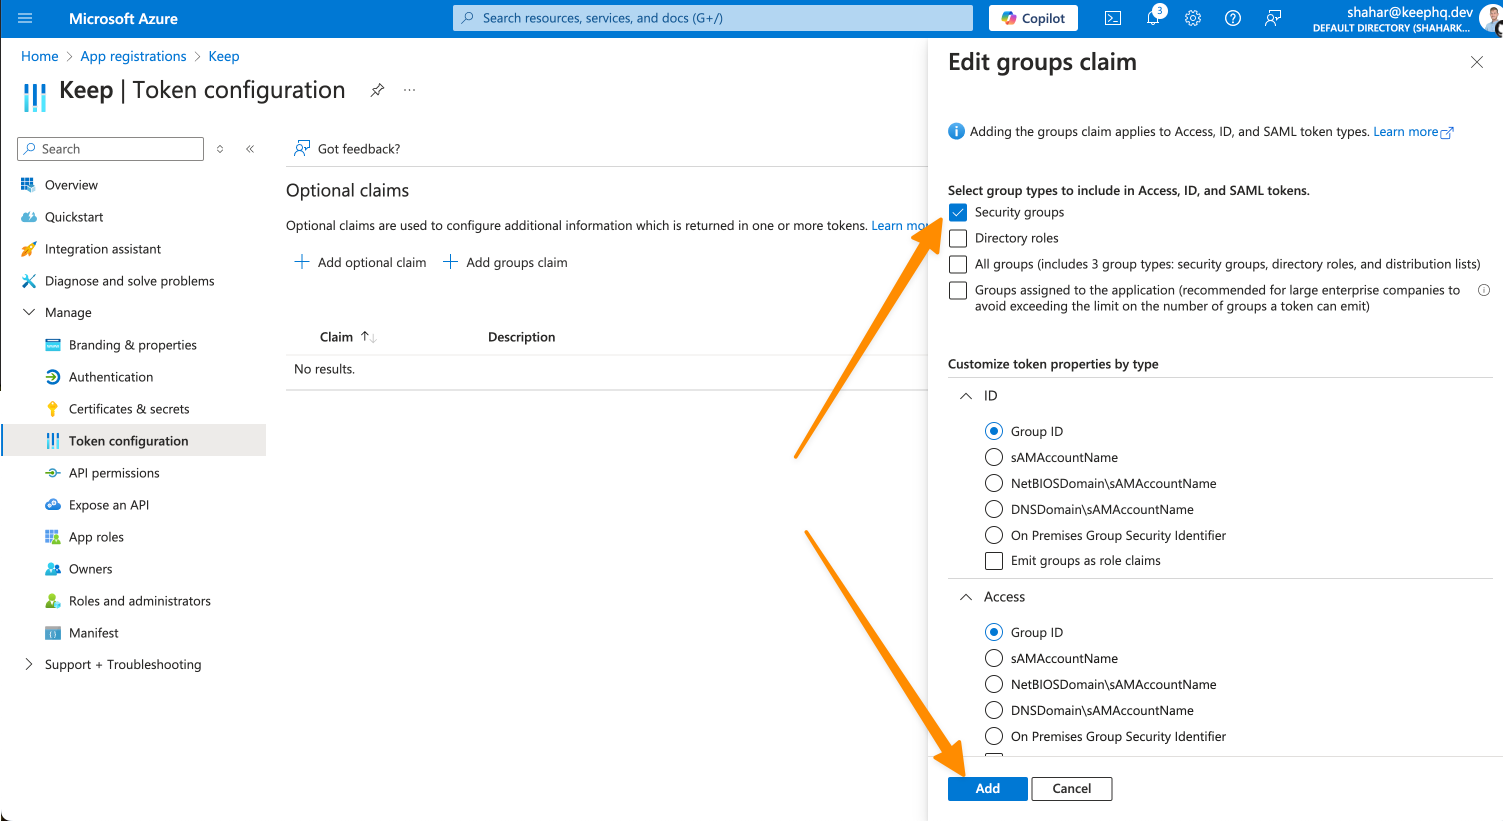
- Add groups claim:
- Select “Security groups” and “Groups assigned to the application”
- Choose “Group ID” as the claim value
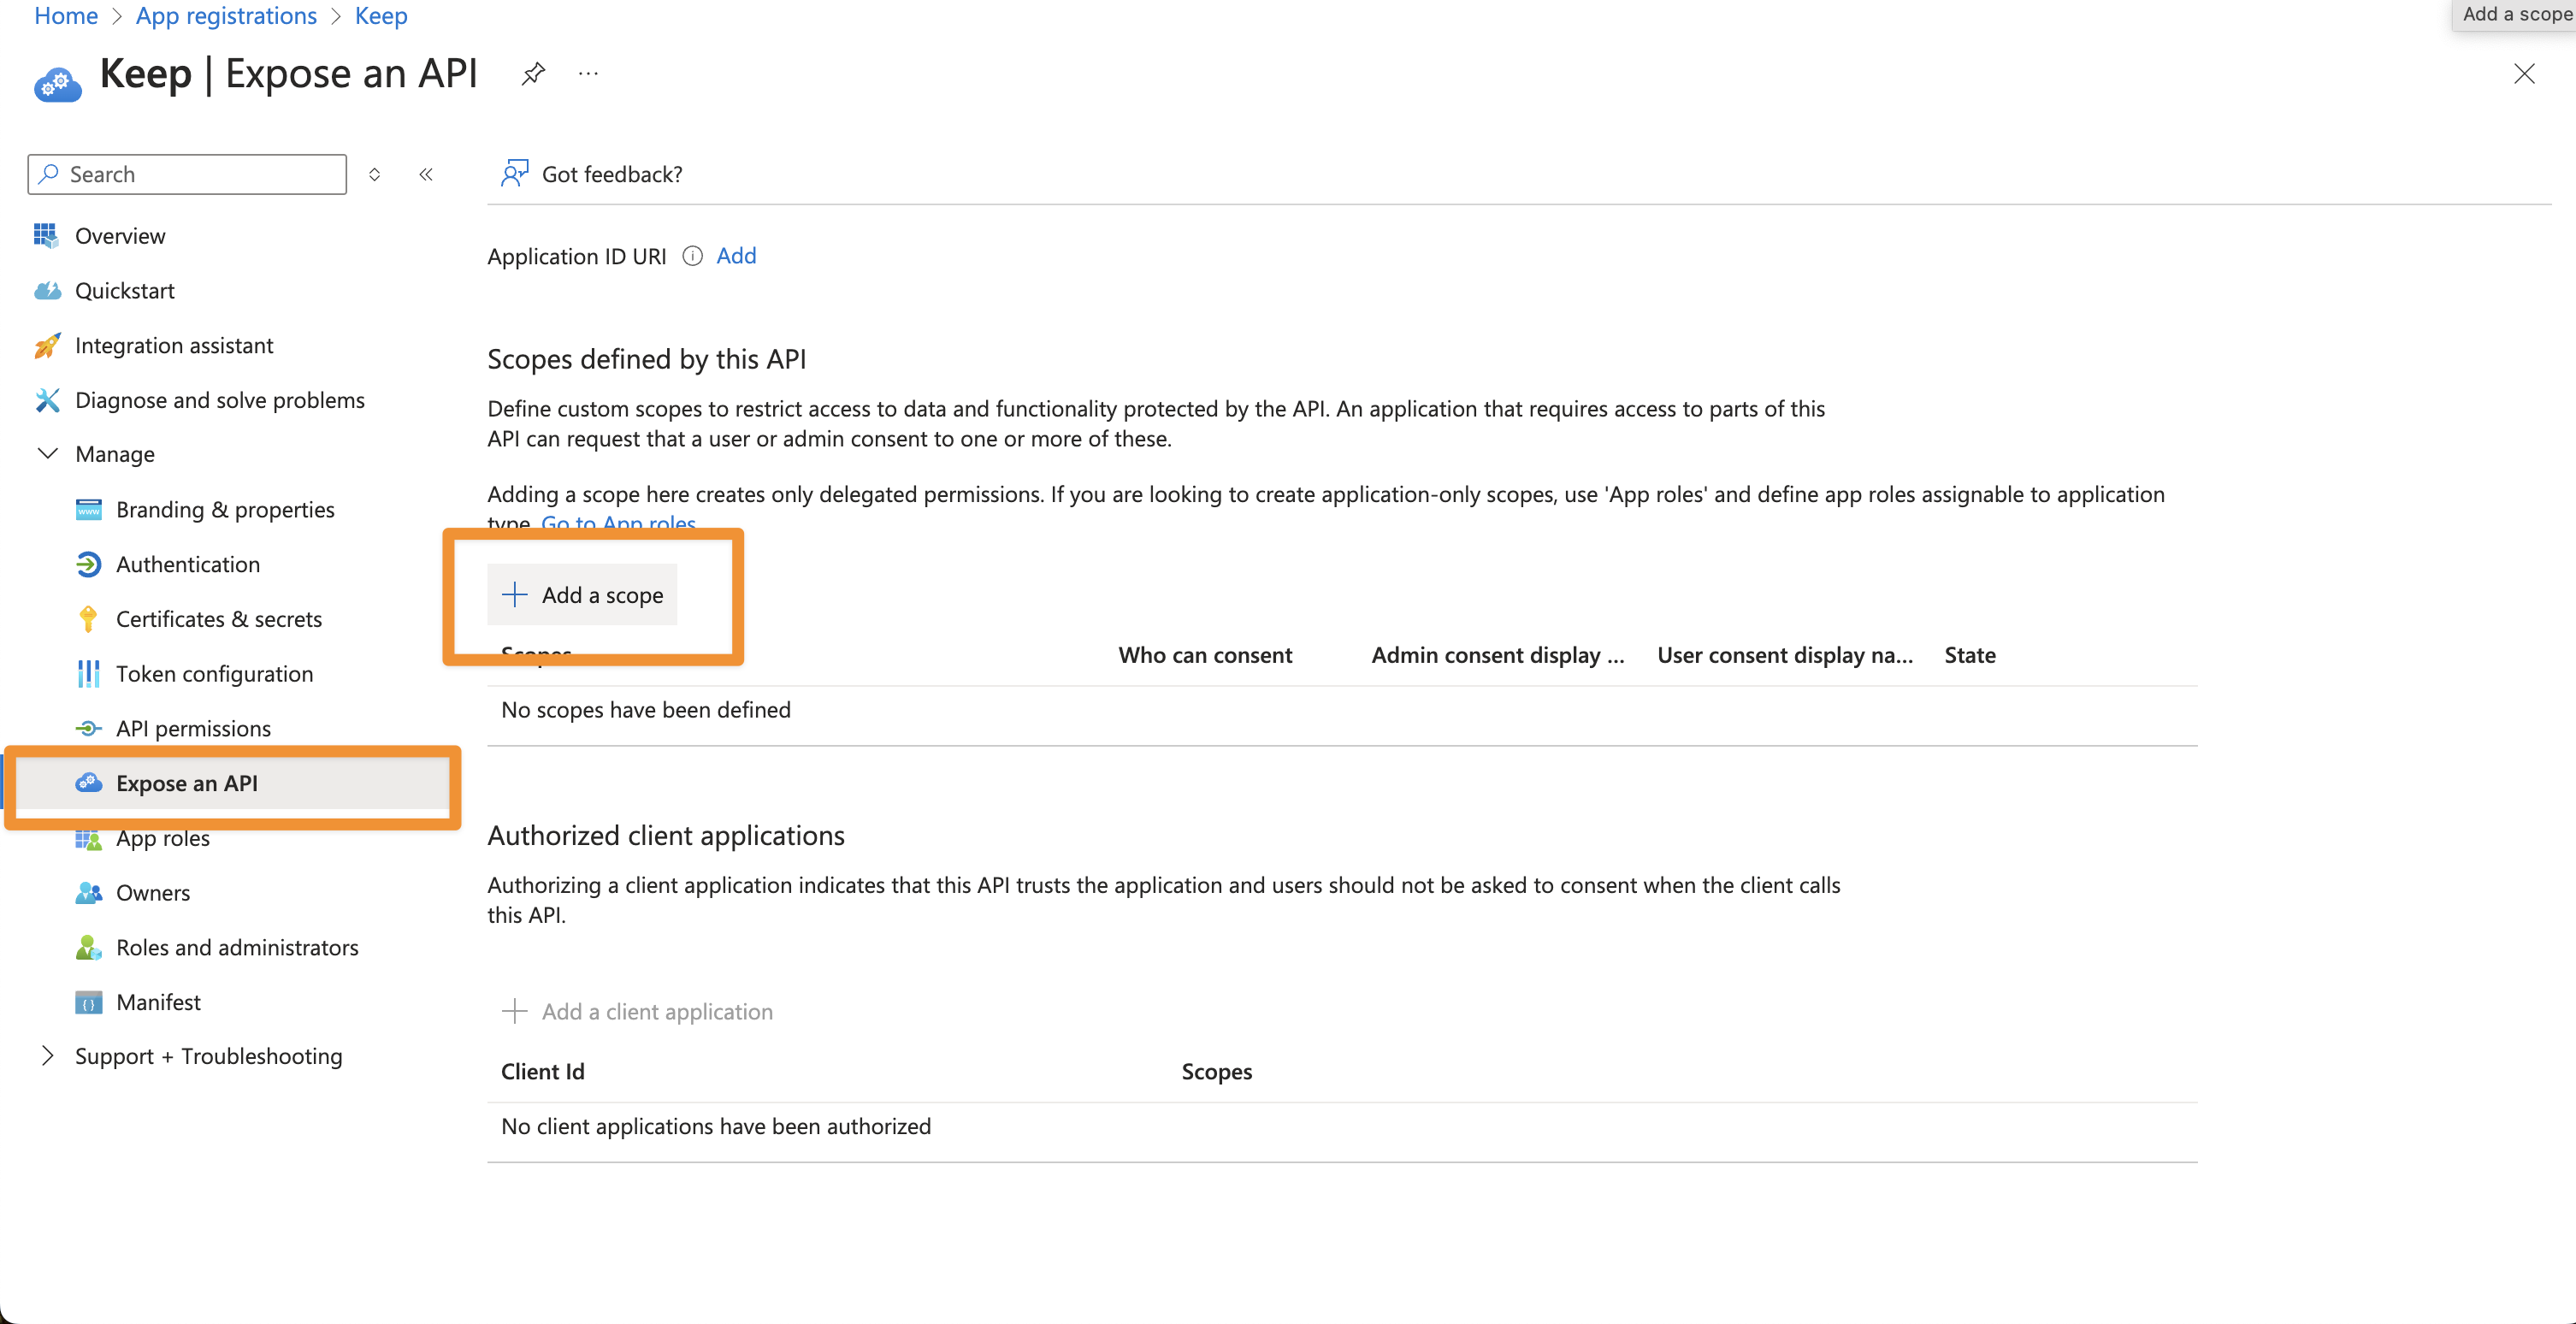
Configure Application Scopes
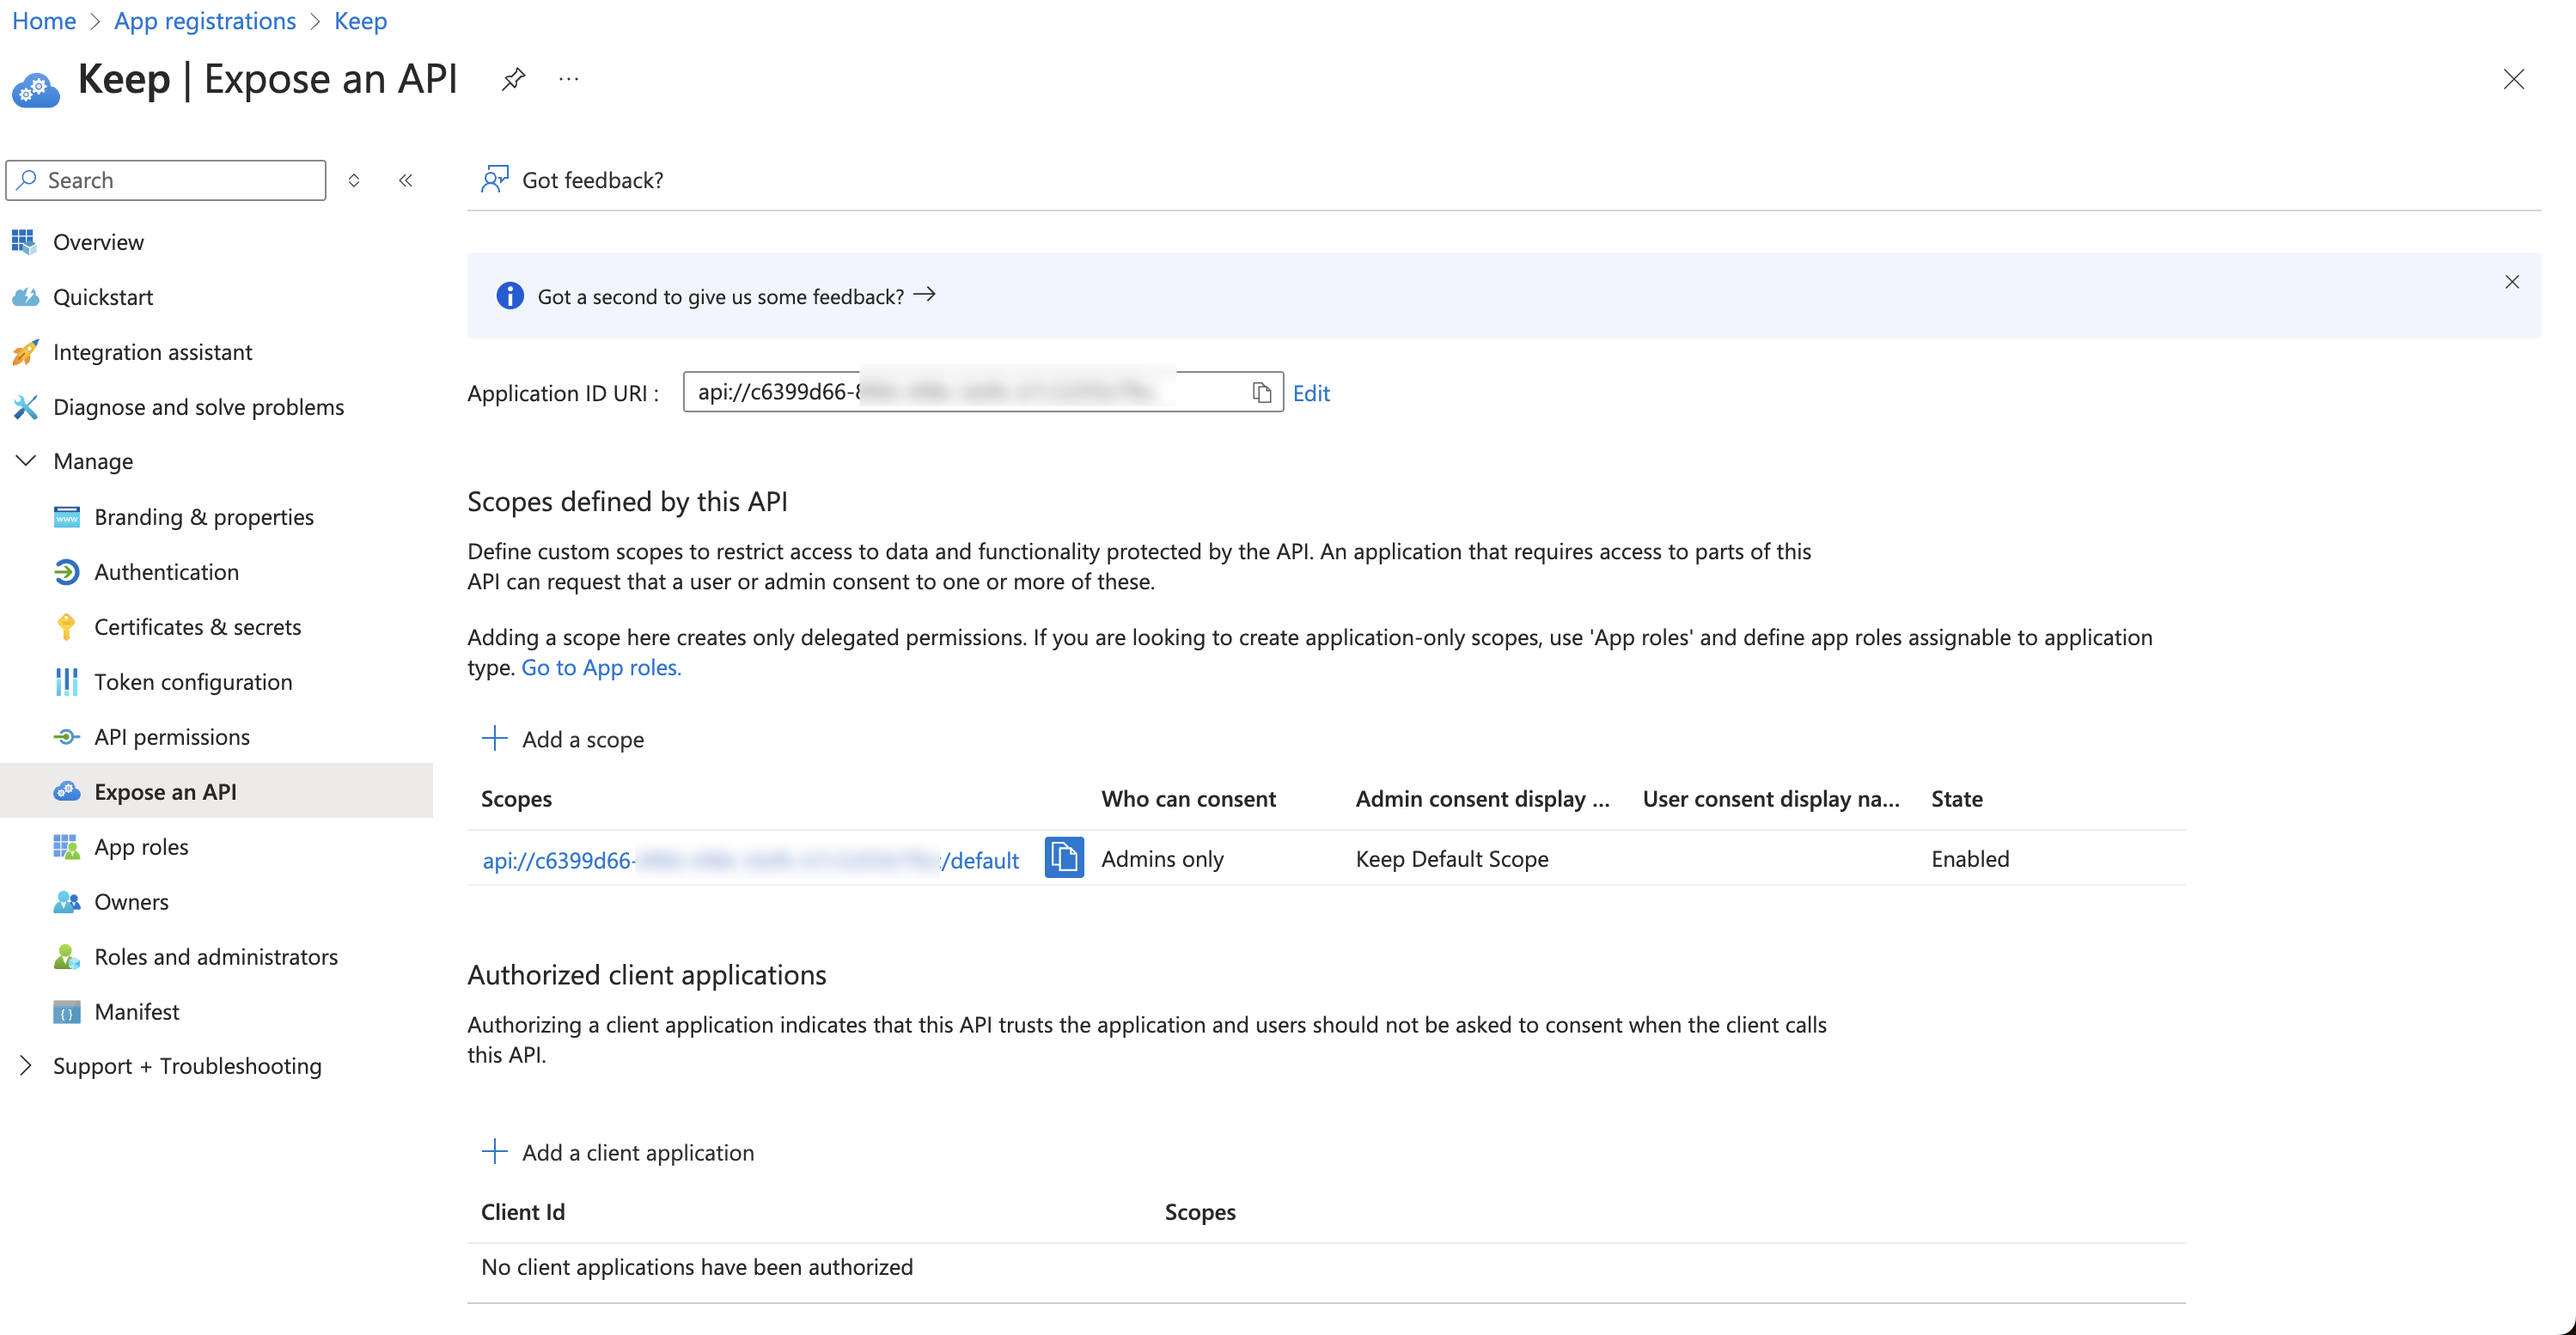
- Go to “Expose an API” and click on “Add a scope”
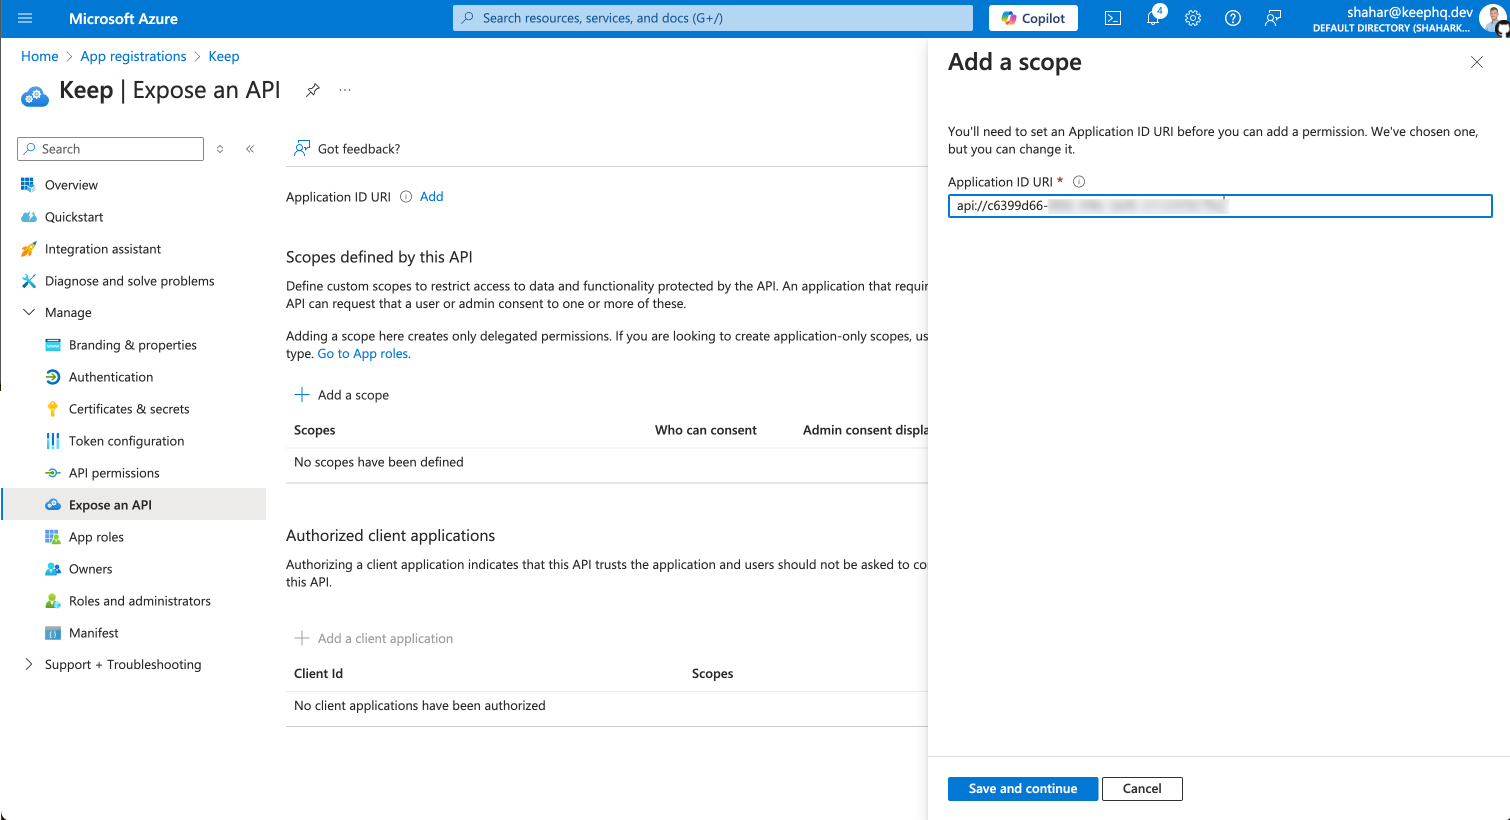
- Keep the default Application ID and click “Save and continue”
- Add “default” as scope name, also give a display name and description
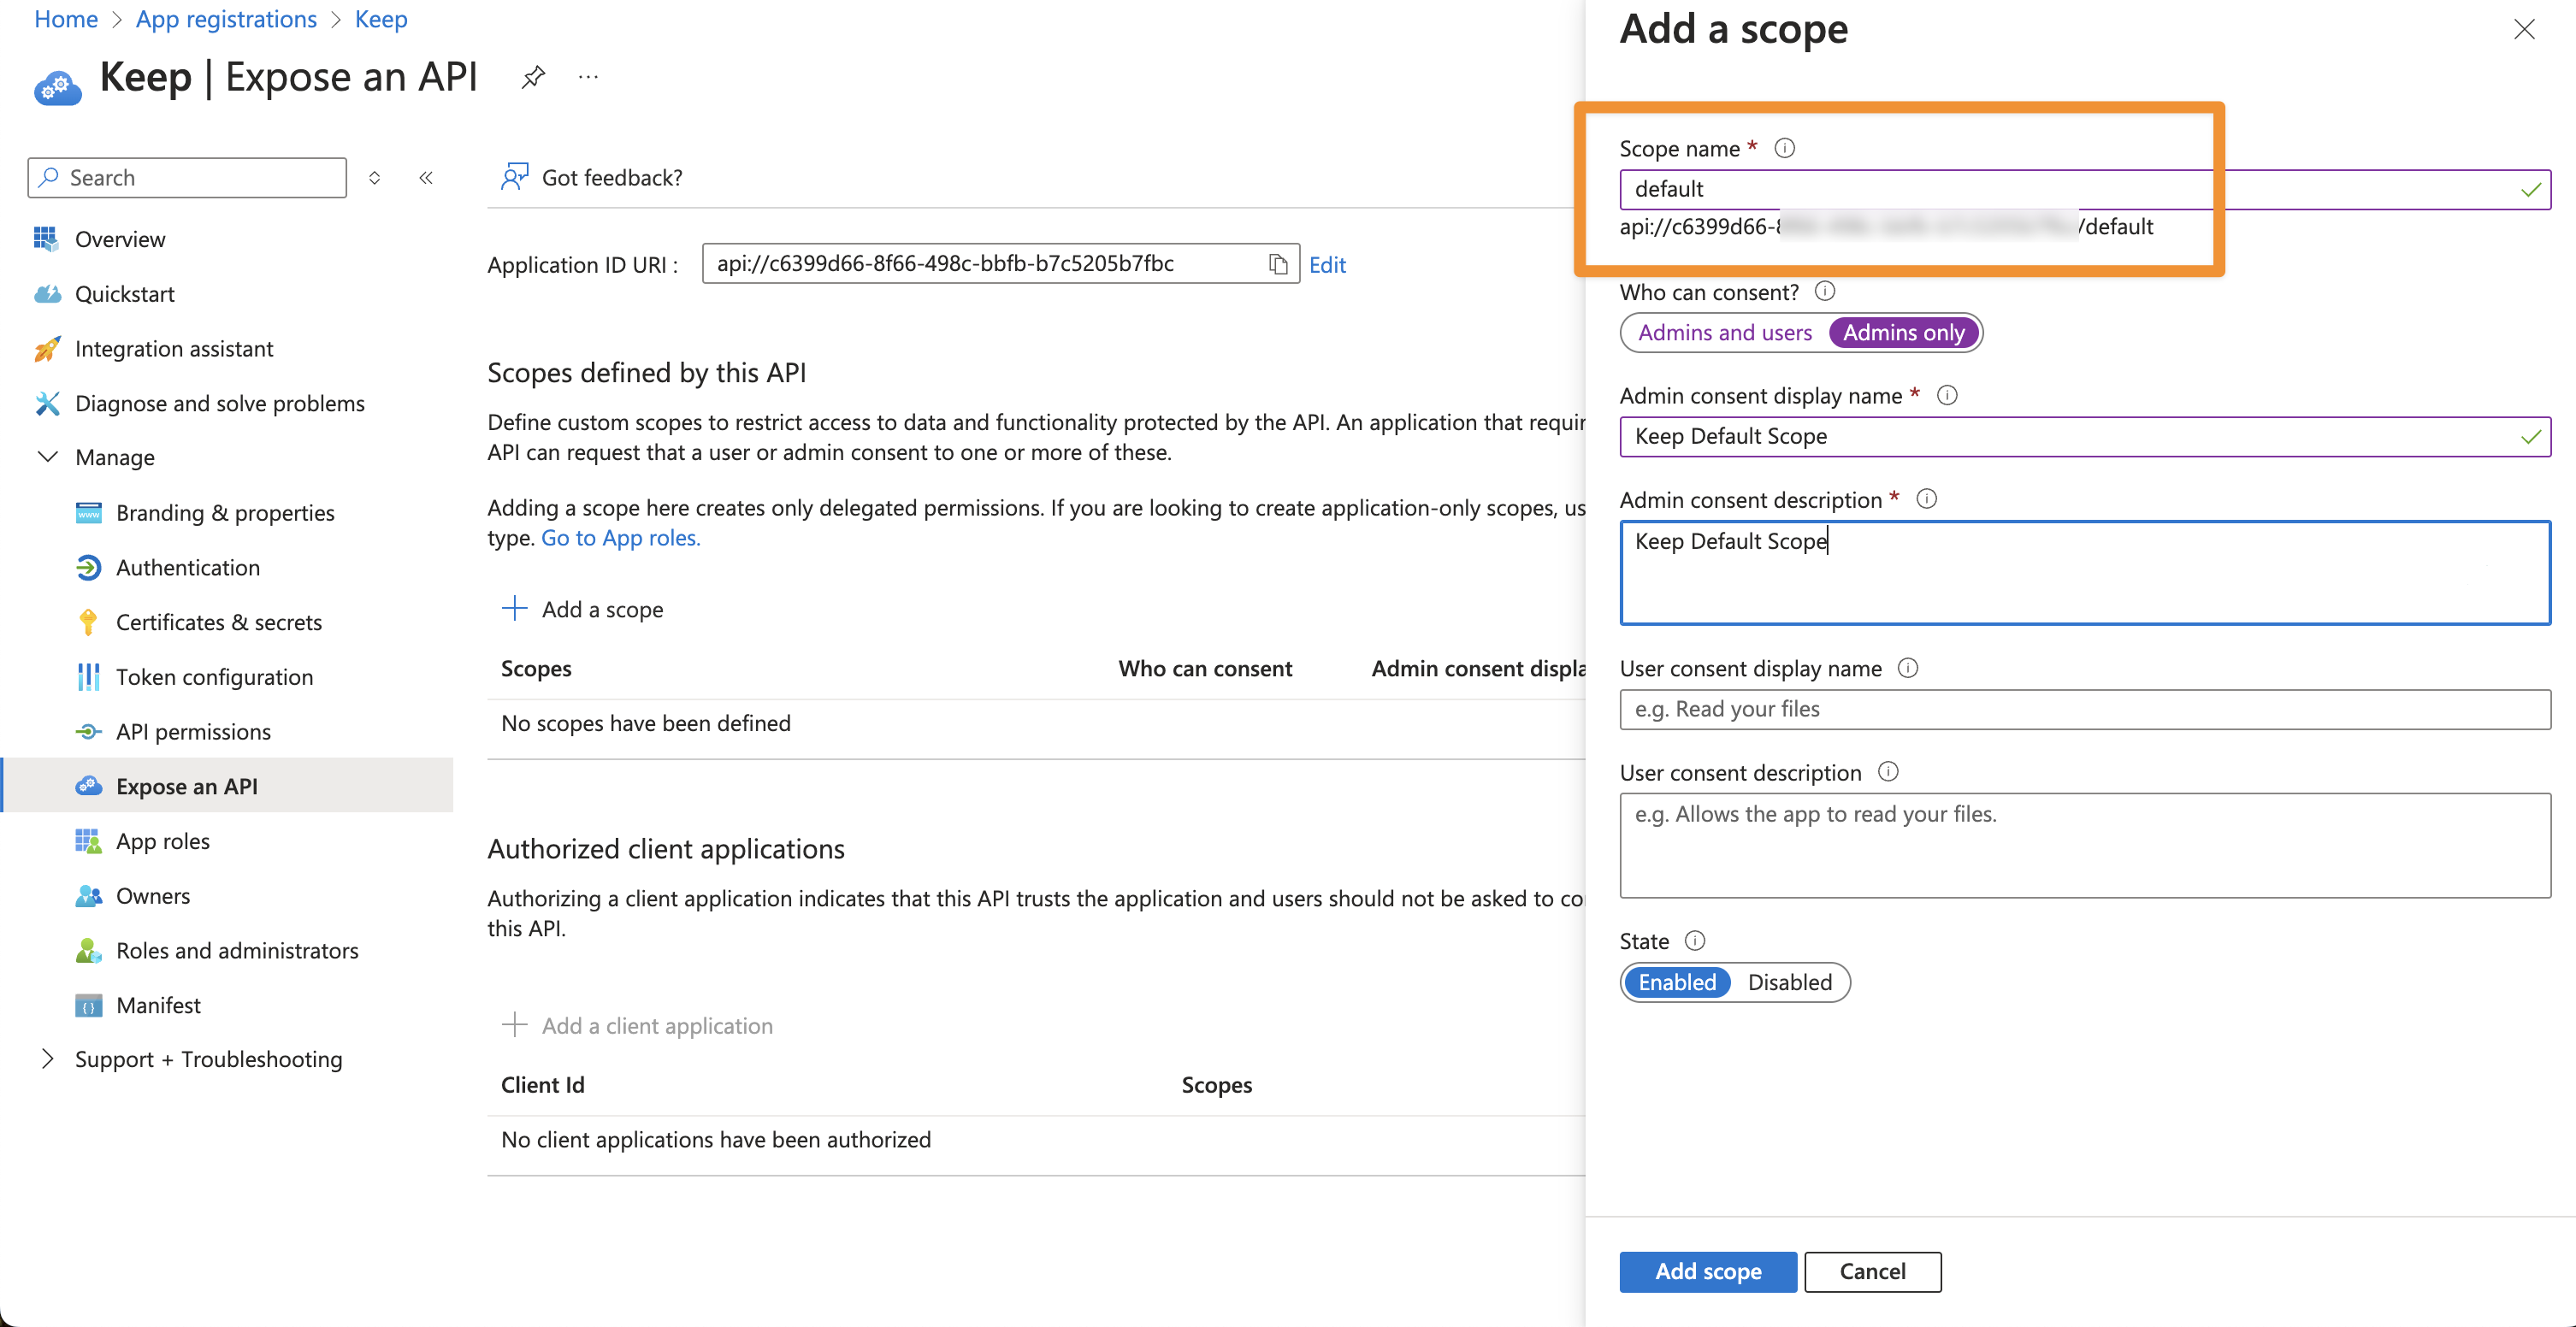
- Finally, click “Add scope”
Setup Instructions (on Keep)
After you configured Azure AD you should have the following:- Azure AD Tenant ID
- Azure AD Client ID

- Azure AD Client Secret See Configure Authentication.
- Azure AD Group ID’s for Admins and NOC (read only) See Configure Groups.
Configuration
Frontend
Backend
Features and Limitations
Supported Features
- Single Sign-On (SSO)
- Role-based access control through Azure AD groups
- Multi-factor authentication (when configured in Azure AD)